Purpose
This SOP provides a step-by-step guide for setting up a Knowledge Hub for clients. The process is divided into three main parts: General Settings, Appearance, and Domain.
Part 1: General Settings
Step 1: Configure Workspace Name
- Navigate to the Knowledge Hub workspace.
- Set the workspace name in the following format:
- [Company Name] Knowledge Hub
- Example: Royal Assistants Knowledge Hub
Step 2: Add Copyright Notice
- Include the following copyright statement:
© [YEAR] [Company Name] x Royal Assistants- Replace
[YEAR]with the current year.
Step 3: Update Description
-
Use the following template for the workspace description:
Welcome to your Knowledge Hub!
We’re excited to have you here! This hub is designed to be your go-to resource for all things related to our support services. Whether you’re looking for step-by-step guides, best practices, or troubleshooting tips, you’ll find everything you need right here.If you have any questions, reach out via email or Slack.
Welcome aboard, and happy exploring!
Step 4: Adjust Important Settings
- Access Settings:
- Enable/Disable Workspace → Enabled
- Feedback Settings:
- Allow rating feedback → Disable
- Backlink Settings:
- Show backlink → Disabled
Part 2: Appearance
Step 1: Upload Client Logo
- Use the client's logo provided.
- Ensure the logo is appropriately formatted and sized.
Light Logo

Dark Logo

Favicon

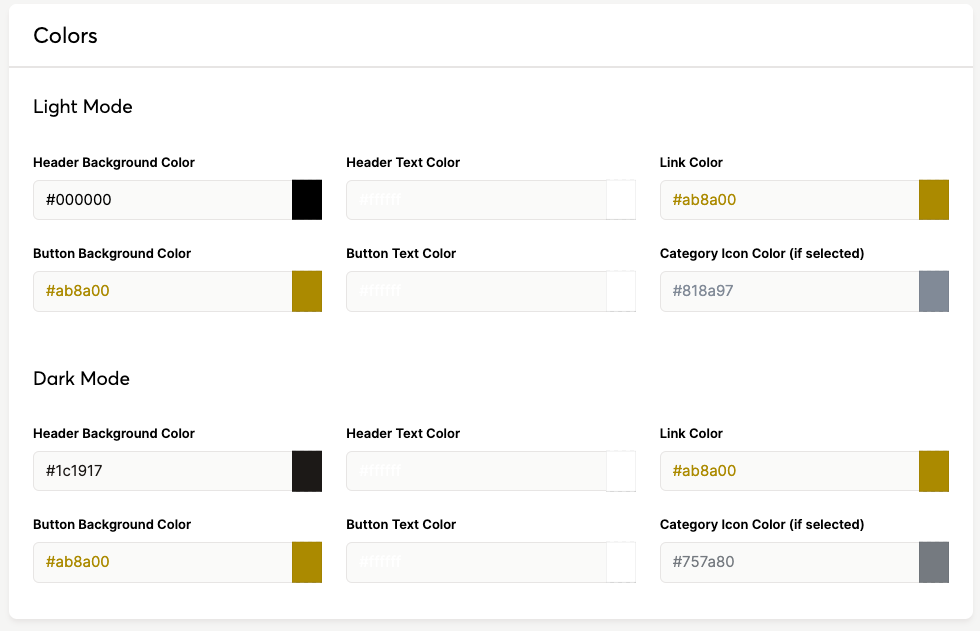
Step 2: Customize Theme
- Select a color palette that aligns with the client’s brand.
- Update font styles and layout preferences, if required.
Header Links
- https://www.royalassistants.com | Back to Website
Part 3: Domain Setup
Custom Domain
This will need to be added to the Wix DNS settings:
Step 1: Access Domain Settings
- Navigate to the Billing and Subscriptions section.
- Select Domains and locate the relevant Knowledge Hub domain.
Step 2: Add a CNAME Record
- Copy the CNAME details provided by the system.
- Go to the DNS Management section in your domain provider’s platform.
- Add a new CNAME record with the following details:
- Host: Abbreviation of the company name (e.g., EQSave)
- Target: Link provided in the Knowledge Hub domain settings.
Step 3: Validate the Domain
- Return to the Knowledge Hub domain settings and click Update Settings.
- Wait for domain propagation (may take up to 24 hours).
- Ensure the domain is successfully linked and operational.
Step 4: Confirmation
- Monitor for an email notification confirming domain setup.
- Verify the domain by accessing the Knowledge Hub directly.
Final Steps
- Preview and Publish: Ensure all configurations are accurate before publishing.
- Test Accessibility: Verify all links, embedded content, and settings.
- Document and Share: Save a copy of this SOP and provide the client with a brief summary.